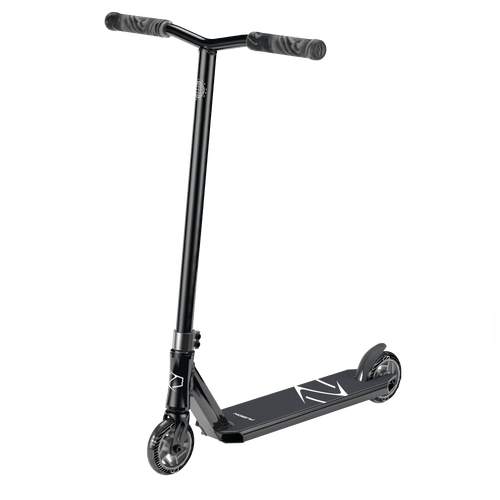
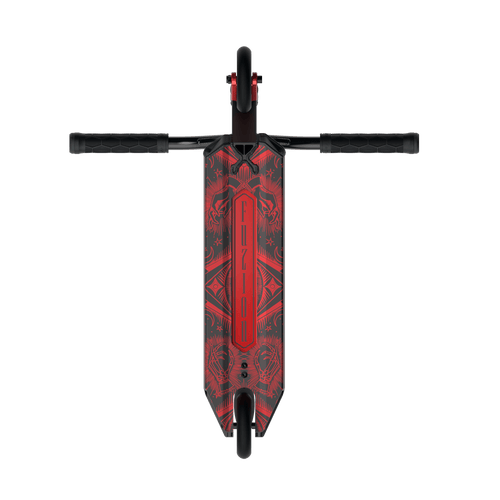
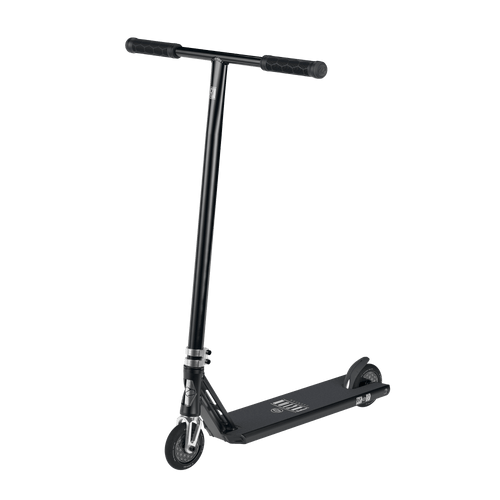
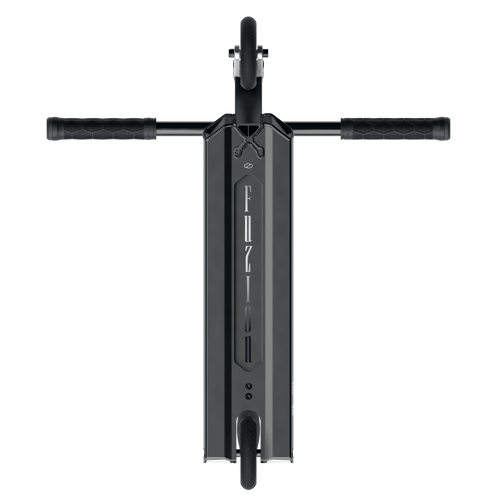
How to Assemble a Custom Pro Scooter
The first step to assembling your custom trick scooter is to make sure you have all the parts you need and that they are all compatible with each other.
Here is a checklist...
- Deck
- Bars
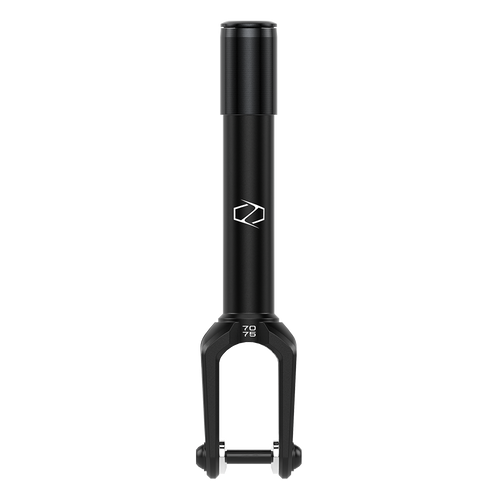
- Fork
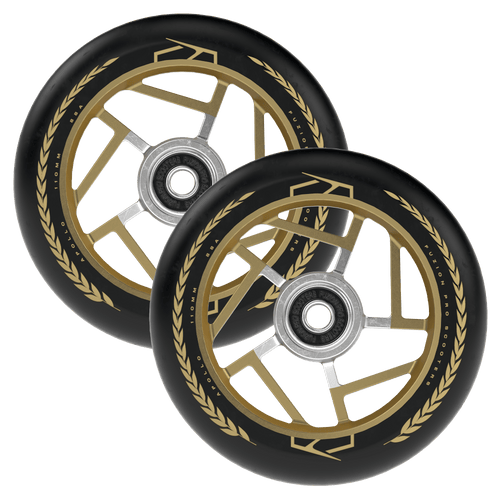
- Wheels
- Clamp
- Headset
- Grips
- Griptape
1. The first step is to put your griptape onto your deck. There are many ways to do this based on preference but we wanted to show you the best and cleanest way to do this by sharing an awesome video of Walter from the Vault Pro Scooters
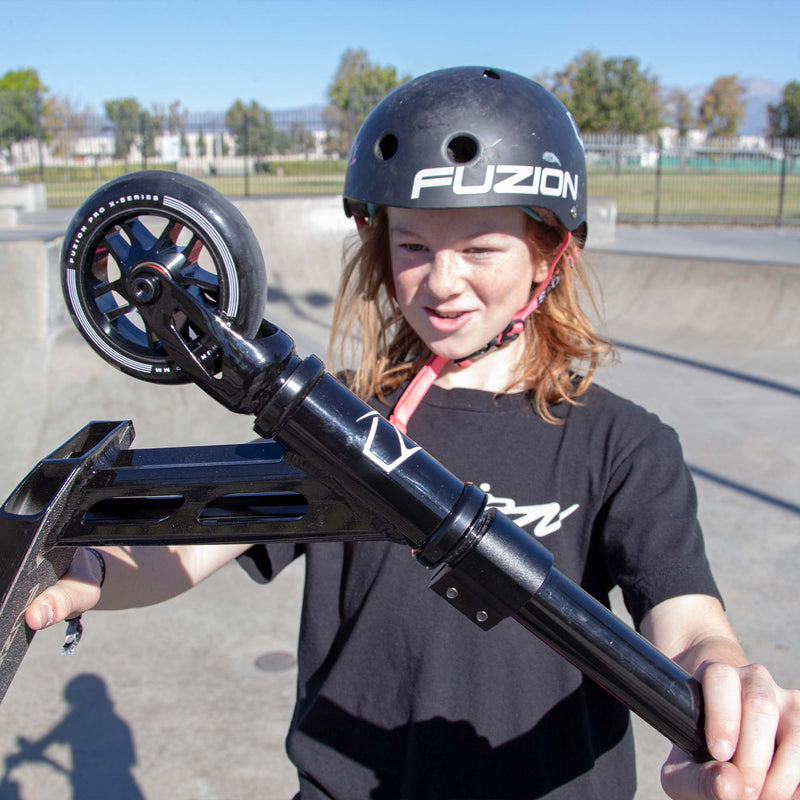
2. The second step is to assemble your fork onto the deck. To do this you must first take the bottom bearing of your headset and place it over the fork. Now insert your fork into the headtube of the scooter deck. Then take the second headset bearing and the spacer or compression ring and place those onto the fork. Now place the top cap of your headset and slide that onto the fork so that you can protect the headset bearing from collecting dirt over time.
It's time for the final step of assembly for your fork and compression. This portion is done in different ways depending on your compression type.
- IHC/HIC - Place your shim over the fork's downtube and tighten the compression bolt into the top of the fork. Do not tighten the fork so tight it cannot rotate. You will know when you are done tightening when you can only spin the fork in a single motion about 180 degrees by hand.
- SCS - Place your SCS Clamp over the fork. Insert your compression bolt through the clamp and into the fork and tighten it.
TIP: After the first assembly you may find that your compression loosens just a smidge after your first riding session. This is completely normal. Just remove the bars, retighten the compression bolt a smidge, reattach your bars and you are good to go.
2. It is now time to put on your wheels. You may start with the back or front wheel but we recommend starting from the back. The first step is to remove the axel and spacers from the deck. The next step is to slide your wheel into the deck. Now slide the bare axel through one side of the deck but not through the wheel just yet. You now need to slide your first spacer in between the axel hole and the wheel. Once that is lined up you can slide the axel into the wheel. Repeat this step for the other spacer. At this point we recommend turning the deck sideways so you can aligned the second spacer with more ease. Once the axel is all the way through to the other side of the deck all you need to do is use the axel bolt to tighten it.
Now that the back wheel is on we need to attach the front wheel. This is typically the easiest part of building a scooter. Just slide the wheel between the fork and slide the axel through and tighten the bolt. Make sure you are using the correct spacers that were provided with your fork.
3. The second to last step of the process is fairly simple. We are now going to attach the bars to the scooter. Depending on your choice of compression the process is a little different.
- IHC/HIC - Insert your clamp onto the bottom of the bars. Then place your bars on top of the fork downtube. Do not be afraid to use some force to get the bars fully set onto the scooter. If your are struggling with this we recommend placing the scooter on the ground and using your body weight to press onto the top of the bars while using your hands to wiggle the bars a little bit back and forth.
- SCS - Insert your bars into the top portion of the SCS clamp.
Now that your bars are on the scooter it is time to line up your bars and clamp so everything is straight. Make sure the backside of the clamp (the side with the bolts) is facing towards where the rider would stand on the scooter. Once you have your bars and clamps lined up make sure you tighten the clamp bolts. Once finished you can move onto the last step.
TIP: Alternate tightening the bolts a little bit each time so that the clamp is applying equal pressure across the surface area of the bar. This allows for the greatest tightening strength.
4. The last step in the process of building a custom scooter is putting the grips onto the bars. Similar to the griptape this can be accomplished a few ways. The best way is to use an air compressor or computer air cannister. Slide the nozzle between the grips and bars and release the air from the nozzle. You should easily be able to slide the grips onto the bars by pulling the grips and rotating them back and forth while the air is flowing between the grips and bars.
Another way to put your grips on your scooter bars is to apply a SMALL amount of dish soap and water to the bars and the inside of the grips. Afterwards press or pull the grips onto the bars while rotating them and and forth. Once the bars are on you will need to wait a few hours for the soap to dry.
Congratulations! You have built your custom scooter from scratch! Now go out and enjoy your new setup!
Still Having Trouble Putting Together Your Pro Scooter?
Check out this video of Team Rider Logan Schnider where he breaks down every step of the way on camera.